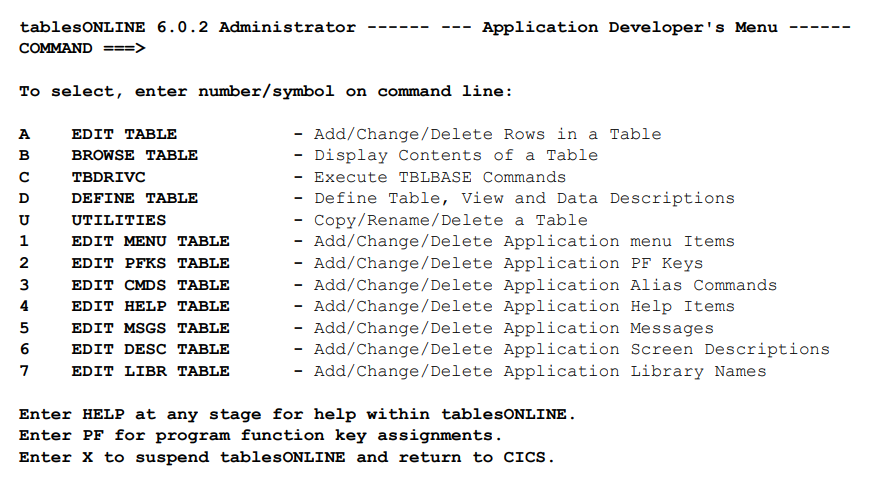
The first five options in the Application Developer’s menu (A-U) were discussed in previous chapters.
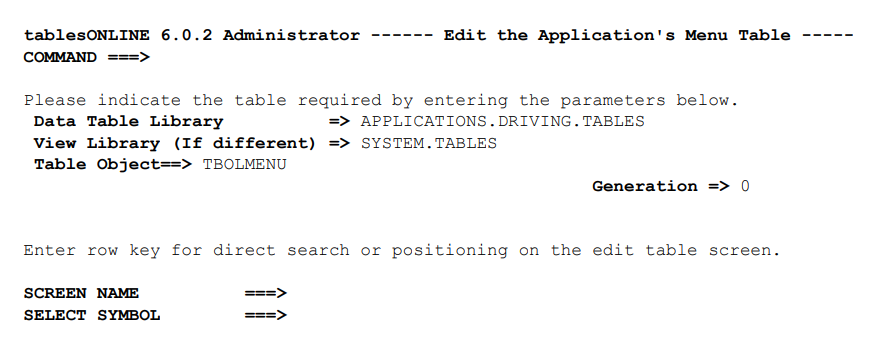
Options 1 to 7 allow you to edit the driving tables for your application. Selecting one of these options will display a screen similar to Figure 162.

The Data Table Library name and the View Library name are displayed in the screen in white. The Application Driving Tables always is found in the Applications Driving Tables library and the View required to edit those tables is found in the System Tables library. As a result, these are protected fields that may not be changed.
The process of editing any of these Application Driving Tables is the same as editing any other table.
You must specify the name of the Table Object and the generation that you wish to edit. To view a list of the available Application Driving Tables, place the cursor in the Table Object field and press <PF1> for help. To select one of the Table Objects from the list, place the cursor to the left of the row and press <Enter>, or use the S line command.
Once these fields are complete, press <Enter>. This will refresh the screen so that it will display fields where you may insert a table row key. In this example, the keys are Screen Name and Select Symbol.
If you wish to begin by editing a specific row in the table, you can insert the full key or a partial key in these fields. If, however, you wish to start editing at the beginning of the table, leave these fields blank. Press <Enter> to open the table for edit.
This screen is followed by either the Edit-Table or the Edit-Row screen depending on whether or not a row key was specified. If you inserted a row key in the Identify screen, you will go directly to the Edit-Row screen. If you did not insert a row key, you will go to the Edit-Table screen where you can then move through the rows selecting rows to edit using line commands.